H3 ENTERPRISES
It's Time To


Donald C Smith
Lakes Regional Community Center Terrell, Texas
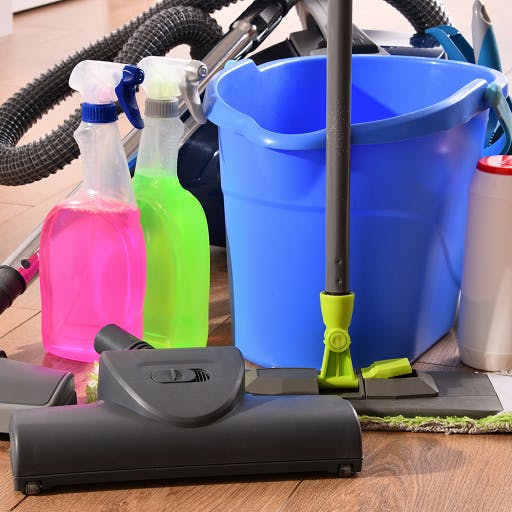
This letter of recommendation is on behalf of Cindy Hinojosa and her janitorial services. Her company cleans 11 of our buildings for our company, Lakes Regional Community Center, since 2005. We can honestly say they do an excellent job and is very prompt when we ask for additional cleaning projects. They respond quickly and efficiently. We intend to continue using their services for a long time.
Donald C Smith
Lakes Regional Community Center Terrell, Texas
J David Santifer Production Manager
New Millennium Building Systems
I am pleased to write this letter of reccommendation on behalf of H3 Enterprises. Cynthia Hinojosa and her staff have worked for New Millennium and has proven to be dependable. The work has always exceeded expectations. Please do not hesitate to contact me if you require further information.
J David Santifer Production Manager
New Millennium Building Systems

Char Ferguson Property Manager
Wylie Office Space
Cindy and her crew have cleaned our tenant spaces for nearly 3 years, and we couldn't be more pleased with the attention to detail they have always shown us. Their fogging service has helped to keep our tenants COVID-free. The team is courteous and always on time. We highly recommend them for any commercial cleaning services you might need to get the job done right the first time and every time.
Char Ferguson Property Manager
Wylie Office Space
To add this web app to your homescreen, click on the "Share" icon

Then click on "Add to Home"

To add this web app to your homescreen, click on the "Share" icon
Then click on "Add to Home"
It looks like your browser doesn't natively support "Add To Homescreen", or you have disabled it (or maybe you have already added this web app to your applications?)
In any case, please check your browser options and information, thanks!
It looks like your browser doesn't natively support "Add To Homescreen", or you have disabled it (or maybe you have already added this web app to your applications?)
In any case, please check your browser options and information, thanks!